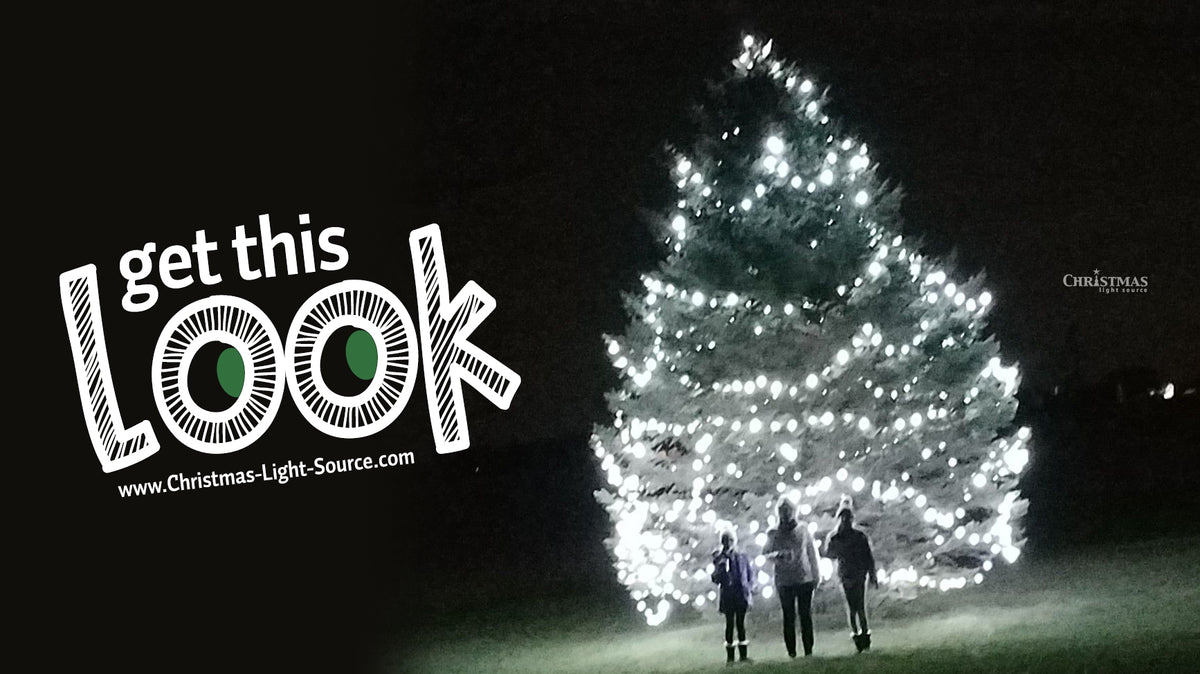

We were really excited about this tree decorated by one of our customers up in Wisconsin. We hope you are as inspired as we are.
SPECIAL EQUIPMENT
- Ladders
- Mechanical lift, cherry picker, optional
MATERIALS
- 34 sets pure white C7 light strings
- 500 clips tree clips
INSTALLATION TIPS
- Determine number of strings of lights required based on size of tree, length of strings (depends on style chosen), and how densely you want to light your tree. Consider ordering a few strings of lights before the Season and test how tight a spiral is required to achieve your desired look. This will help you budget and plan for lighting your tree.
- Map out an installation plan for the tree on paper before beginning noting where the light sets will be plugged in and where extension cords and splitters will be located.
- Test all light strings before starting.
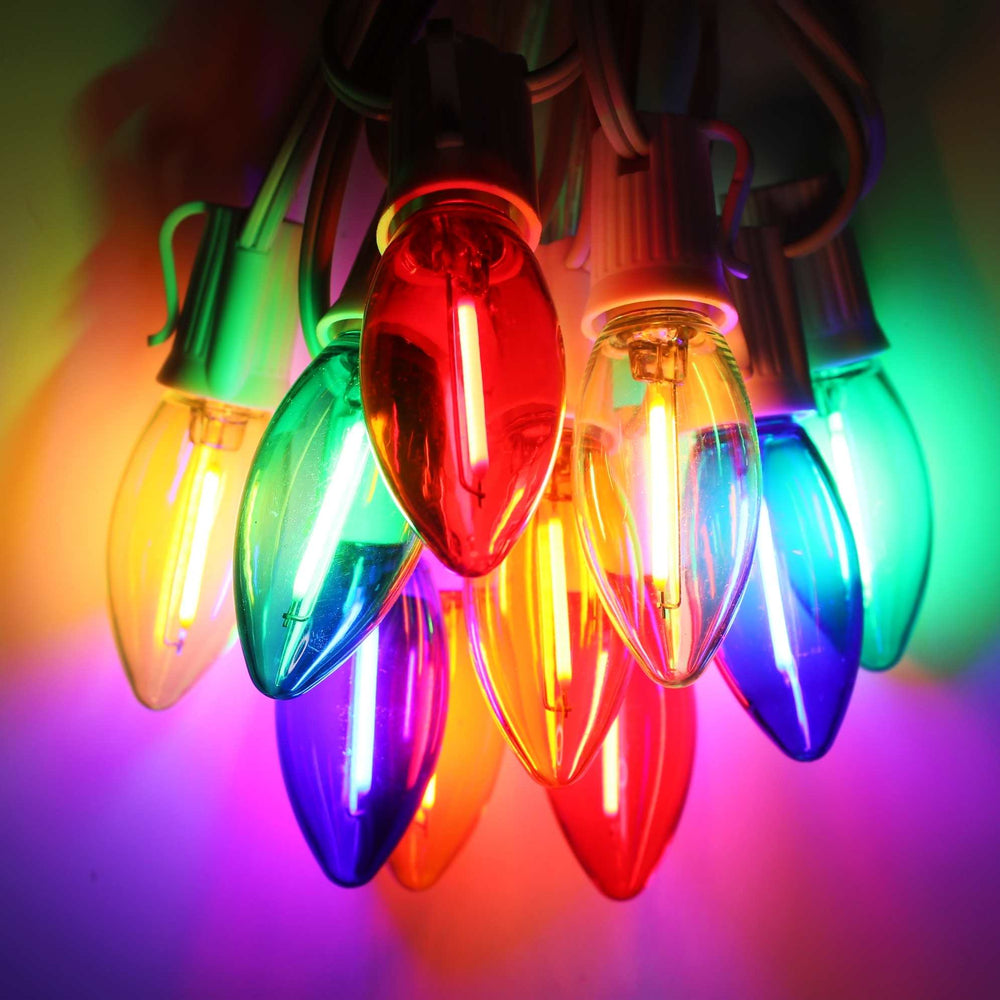
- Start at the of the tree, install lights at the outer edge of the tree using clips built into the bases of the light string bulbs or use tree clips to keep the light sets in place. C7 and C9 LED strings have these built-in clips. Smaller lights like 5mm and round don't have built-in clips. The lighting plan shown in the photo use a larger C7 lens.
- Make sure the female plug of the first string of lights installed at the top of the tree so the last string of installed lights ends with a male plug that can be plugged directly into an extension cord.
- Plug in light strings every 3-5 installed sets to test and confirm the strings are working and spaced out properly. This is easier to adjust as you go rather waiting until after you've taken the lift back to the rental agency.
- Keep an eye on your maximum connection specification for the light strings used for your project. When maximum strings are reached, continue the installation with an additional extension cord or splitter. Exceeding the maximum allowable number of strings to run in series will blow one or more fuses and may damage the light sets.


