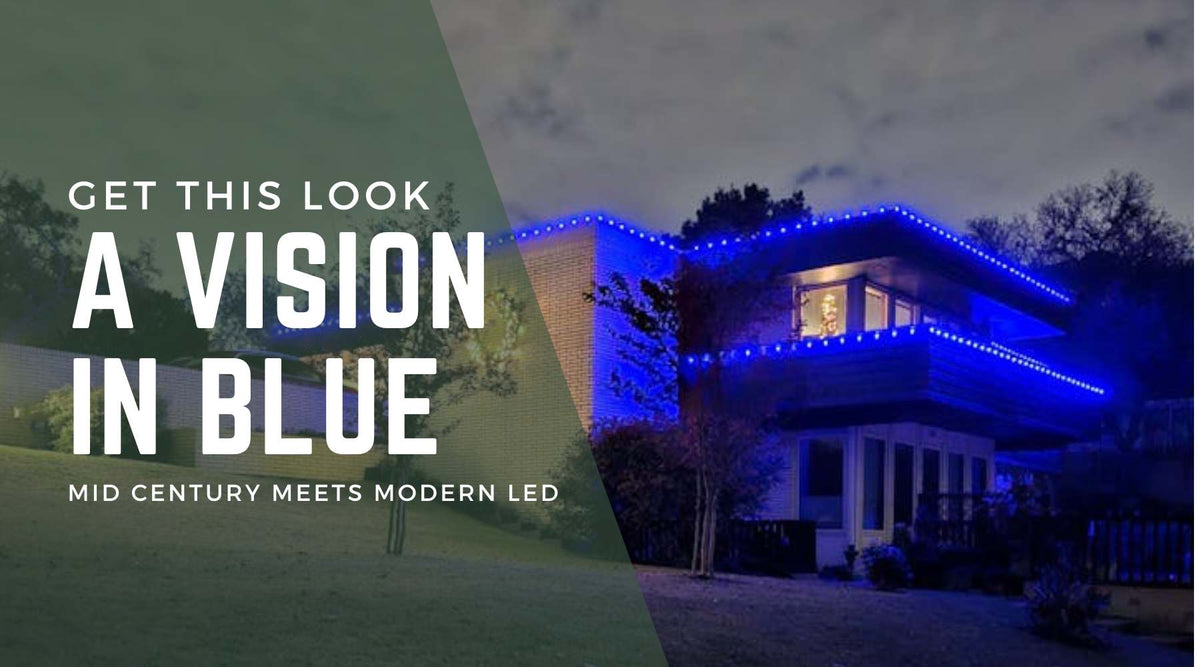
We love how the owner of this Texas Mid Century multi-level home outlines her home's unique architecture. She been installing these bulbs since 2020 and still receives compliments!
We appreciate the straightforward design with a warm white accent on the side brick wall. We've added a materials list and tips below.
Materials
Installation Tips
Step 1
The best first step in any Christmas lights display installation is to measure the approximate length of the roofline, driveways, and, sidewalks. Add 10% to account for "swag".
The length of a project like this can be estimated from the ground by walking out the perimeter and counting steps. If you have an average 3 foot stride then multiply the number of steps by 3 to approximate the linear measurement of the roofline.
Step 2
Create a plan for the installation. Note the location of plugs, need for extension cords, and areas that will need to be skipped by using bulk wire instead of socket cord.
As an example, if a 2 foot space needs to be crossed but not lit, use a male/female gilbert plug set and a length of 18 AWG bulk wire to create a short jumper. Plug into the run to visually jump the gap.
Take a close look at the edge of your roofline. For the flatroof project above, the best choices included magnetic clips that work on metal flashing and Combo C clips that are a great soution for flat rooflines. They can be installed with either screws or adhesive silicone.
An alternative to the Combo C clip are the original shingle tab and parapet clip combination.
For a shingle edge, multi application clips or universal clips are great choices.
Step 3
Choose a cord based on the color of trim and fascia. You can choose between green, white, black, and brown. Our C9 Christmas cord collection has a wide variety of colors, lengths, and bulb/socket spacing.
Step 4
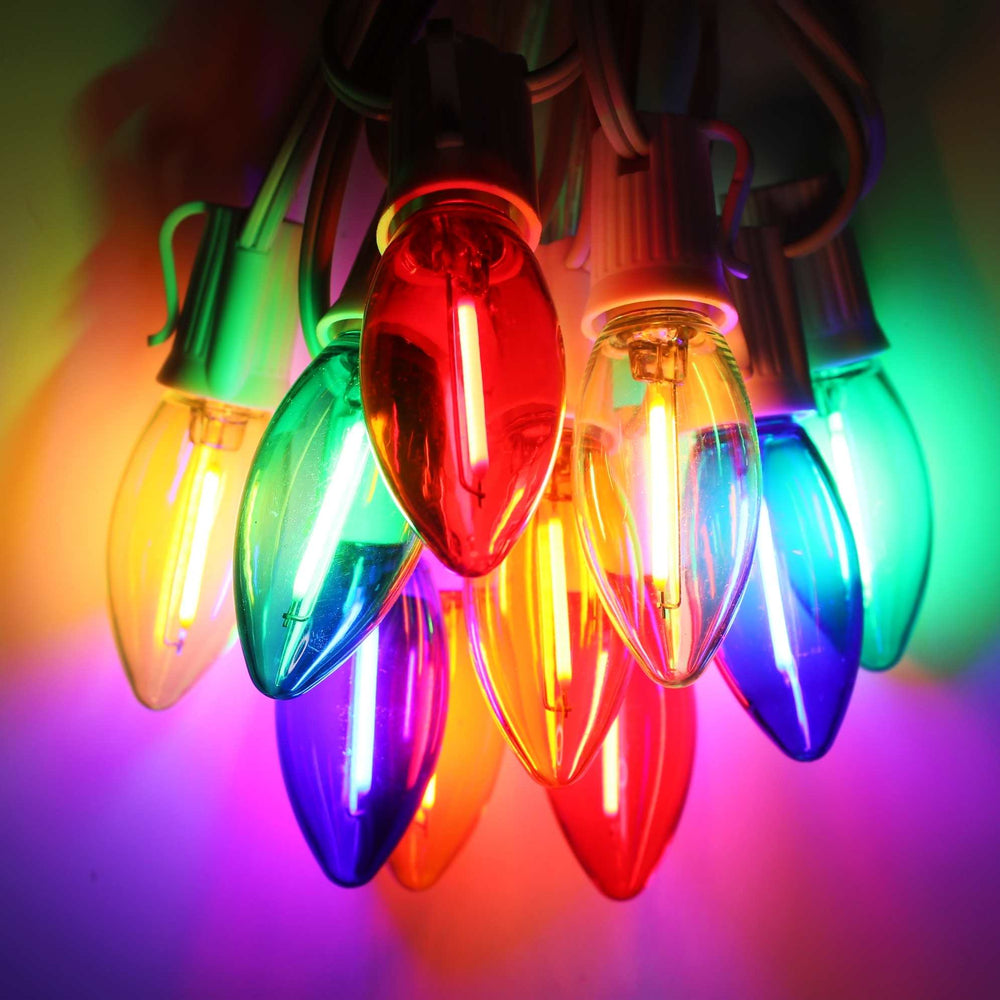
Next, choose your favorite bulb shape and color. You can choose between a single color display or alternate bulb colors. Traditional combinations include red/white, blue/white, and red/green/white for Christmas. We've enjoyed seeing photos of pink and white displays, all purple, and, teal and red. The great thing about ordering bulbs and cords separately is that you can create the exact light string that is in your mind's eye. Always double check your order to make sure that bulb bases and cord sockets are compatible.
Step 5
Choose installation accessories based on roof style and how you want the bulbs oriented during installation. Pointing LED bulbs up or down rather than pointing at the viewer is generally the better, brighter choice. Accessories include plugs, clips, and stakes. Be sure that the SPT rating of the accessories match the rating of the cord you choose.
Step 6
Terminating Cords
18 AWG parallel wired cords can be cut to fit. The end can be terminated in a female plug, with electrical tape, or by dipping into liquid electrical tape.
Step 7
Placing your order
If you are unfamiliar with a style or color of lights, consider purchasing a small quantity of bulbs and a 25 foot cord to test out the bulbs before placeing a large order. Be sure to order a clip or stake for each bulb to have a sharp, clean, professional line. Rely on your original Christmas Lights schematic to determine how many bulbs, plugs, and clips/stakes will be needed for the project.
Step 8
Be sure to install LED bulbs into their cords before beginning installation. Giving each bulbs a 1/4 counterclockwise turn before screwing in the light bulbs can prevent cross threading.
Test the light strings as you go. Be sure not to run more than 250 feet of 18AWG cord more than 250 feet. Touch base with an electrician if you have any specific electrical questions.
